How to Seal Gaps and Cracks to Keep Moisture Out and Prevent Mold in Parsippany-Troy Hills
In Parsippany-Troy Hills, our humid summers and freezing winters turn tiny gaps into major moisture highways. Left unsealed, these openings invite water vapor that fuels mold colonies in basements, attics, and crawl spaces. We’ll show you how to locate, prep, and seal them like a pro—before mold takes hold.
Why Sealing Gaps Stops Mold Before It Starts
Mold needs three things: spores, organic material, and moisture. Our area’s seasonal swings create the perfect storm—condensation builds in walls, basements flood after heavy rains, and attics trap humidity from daily living.
Sealing gaps cuts off the moisture supply. It’s not just about big leaks; even micro-cracks in foundation walls or around windows let in enough vapor to raise indoor humidity above 60%—the threshold where mold thrives.
Don’t overlook the rim joist in basements or the soffit-to-wall joints in attics. These are prime entry points for moist air in Parsippany-Troy Hills homes.
Common Entry Points for Moisture in Local Homes
Foundation cracks are a top culprit, especially in older Parsippany-Troy Hills neighborhoods. Hydrostatic pressure from saturated soil pushes water through even hairline fractures.
Around windows and doors, failed caulk or weatherstripping lets in humid outdoor air. In attics, gaps around plumbing vents, chimneys, and recessed lighting can pull moist air from living spaces below.
Crawl spaces in Morris Plains and Boonton often lack proper vapor barriers. Unsealed vents or cracks in the foundation walls allow ground moisture to rise, creating a perfect mold incubators.
Materials: What to Use Where
Not all sealants are created equal. For non-moving surfaces like foundation cracks, hydraulic cement or epoxy injections provide a rigid, waterproof barrier.
For joints that expand and contract—like around windows or door frames—use elastomeric caulk (silicone or polyurethane). It flexes without cracking, critical for our NJ temperature swings.
Spray foam (closed-cell) excels for larger gaps in attics or rim joists. It insulates and seals in one step, but avoid open-cell foam in wet areas—it absorbs moisture.
| Material | Best For | Limitations |
|---|---|---|
| Hydraulic Cement | Foundation cracks, active leaks | Brittle; not for moving joints |
| Silicone Caulk | Windows, doors, non-porous surfaces | Not paintable; UV-resistant |
| Polyurethane Caulk | Trim, baseboards, masonry | Paintable; strong adhesion |
| Closed-Cell Spray Foam | Attics, rim joists, large gaps | Requires ventilation; professional application |
| Expanding Foam (DIY cans) | Small gaps around pipes, wires | Shrinks over time; not for large voids |
Step-by-Step: Prep Work That Prevents Callbacks
Clean the area thoroughly. Dust, dirt, or old caulk prevent proper adhesion. Use a wire brush for concrete cracks or a putty knife to scrape off failed sealant.
For active leaks, stop the water first. In basements, this may mean improving grading or extending downspouts. In attics, check for roof leaks or ice dam damage—common in Montville and Morristown winters.
Dry the surface completely. A moisture meter can confirm substrate dryness; sealing over damp areas traps moisture and accelerates mold growth behind the sealant.
Use a HEPA vacuum to remove fine dust from cracks before sealing. This ensures a tighter bond and reduces airborne spores during the process.
Sealing Techniques for Different Surfaces
For concrete cracks wider than 1/4 inch, use a backer rod before applying caulk. This creates a proper hourglass shape, ensuring the sealant adheres to the sides, not just the surface.
In attics, seal the top plates of walls with spray foam or caulk. This is where warm, moist air from living spaces escapes into the cold attic, causing condensation and mold on the roof deck.
Around plumbing penetrations, use a flexible sealant or a pre-formed rubber gasket. These areas often shift slightly, and rigid materials will crack over time.
When to Call a Professional
If you find extensive mold growth (over 10 square feet), it’s time to bring in our team. DIY sealing won’t resolve the underlying issue, and disturbing mold without containment can spread spores.
For crawl space encapsulation or basement waterproofing, professionals have the tools to create a true vapor barrier. This often includes sump pumps, French drains, and dehumidifiers tailored to Morris County’s clay soil.
Commercial properties in Denville or Boonton require specialized approaches. Large HVAC systems, flat roofs, and high-occupancy spaces need industrial-grade sealing and moisture control.
Signs You Need a Pro
- Visible mold growth on walls, ceilings, or in crawl spaces
- Musty odors that persist after cleaning
- Peeling paint or bubbling wallpaper (indicates trapped moisture)
- Recurring water stains after sealing attempts
- High humidity readings (above 60%) that won’t drop
Post-Sealing: Keep Moisture in Check
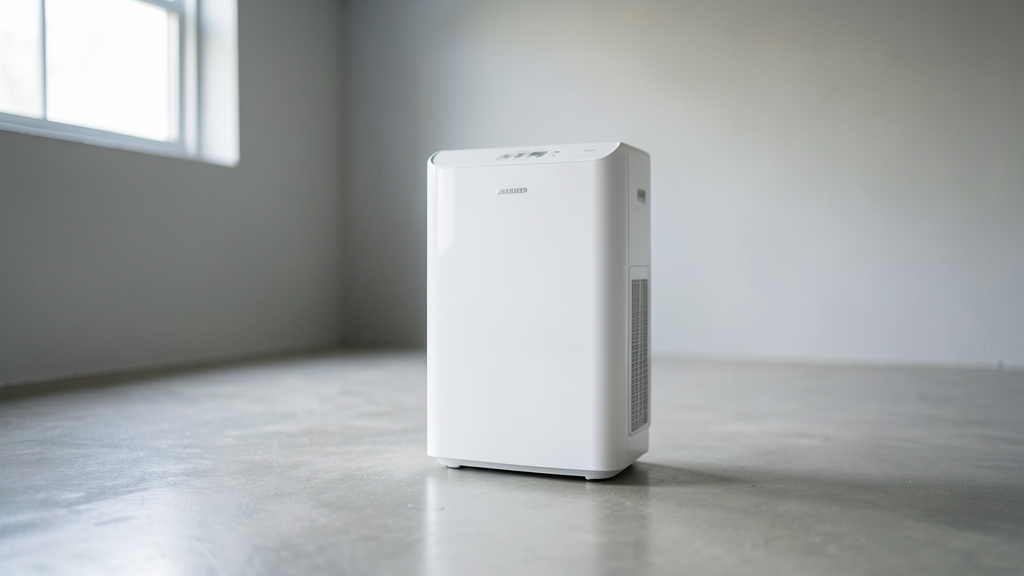
Sealing gaps is just the first step. In our climate, you’ll need ongoing moisture control. Run dehumidifiers in basements and crawl spaces, aiming for 30-50% humidity.
Improve ventilation in attics and bathrooms. Ridge vents, soffit vents, and exhaust fans help expel moist air before it condenses on cool surfaces.
Regularly inspect sealed areas, especially after heavy rains or thaws. Reapply caulk or foam as needed—most sealants last 5-10 years, but extreme weather can shorten their lifespan.
How to Seal a Foundation Crack Like a Pro
Follow these steps to permanently block moisture intrusion through concrete cracks.
- 1Locate and Assess
Use a flashlight to trace the crack’s full length. Hairline cracks may only need surface sealing, while wider cracks (1/4 inch+) require injection.
- 2Clean the Crack
Remove loose debris with a wire brush, then vacuum. For oil-stained cracks, use a degreaser and rinse thoroughly.
- 3Widen if Necessary
For cracks under 1/4 inch, use a chisel to create a V-shaped groove. This helps the sealant adhere better.
- 4Apply the Sealant
For surface cracks, use a caulk gun with polyurethane or silicone. For deeper cracks, inject epoxy or polyurethane foam with a port system.
- 5Tool and Cure
Smooth the sealant with a putty knife for a clean finish. Allow 24 hours to cure before exposing to moisture.
Frequently Asked Questions
Can I just paint over moldy areas after sealing gaps?
No. Painting over mold without remediation traps spores, which will continue growing beneath the surface. Always clean or remove moldy materials first, then seal gaps to prevent recurrence. Request a quote for proper mold remediation if the area is large.
What’s a good sealant for a damp basement in Parsippany-Troy Hills?
For active water intrusion, hydraulic cement is ideal for cracks in the foundation. For non-active leaks, closed-cell spray foam or polyurethane caulk works well. Pair sealing with a dehumidifier and vapor barrier for long-term protection.
How do I know if my attic needs better sealing?
Check for frost on the roof deck in winter or water stains on insulation. If your attic feels damp or you see mold on the wood, sealing gaps around the top plates and penetrations is critical. Poor sealing often leads to ice dams in Montville and Morristown.
Is spray foam safe for DIY use in crawl spaces?
Closed-cell spray foam is low-VOC and safe once cured, but application requires proper ventilation and protective gear. In tight crawl spaces, off-gassing can be a concern. For large areas, our team recommends professional installation.
Will sealing gaps reduce my energy bills?
Yes. Air sealing stops drafts, reducing the workload on your HVAC system. In Parsippany-Troy Hills, this can lead to noticeable savings, especially in older homes with poor insulation. Combined with attic and basement sealing, you’ll see the biggest impact.
Do I need to seal gaps if I have a sump pump?
A sump pump handles water that enters your basement, but sealing gaps prevents water from entering in the first place. Think of it as a two-pronged approach: the pump is your last line of defense, while sealing is proactive protection.